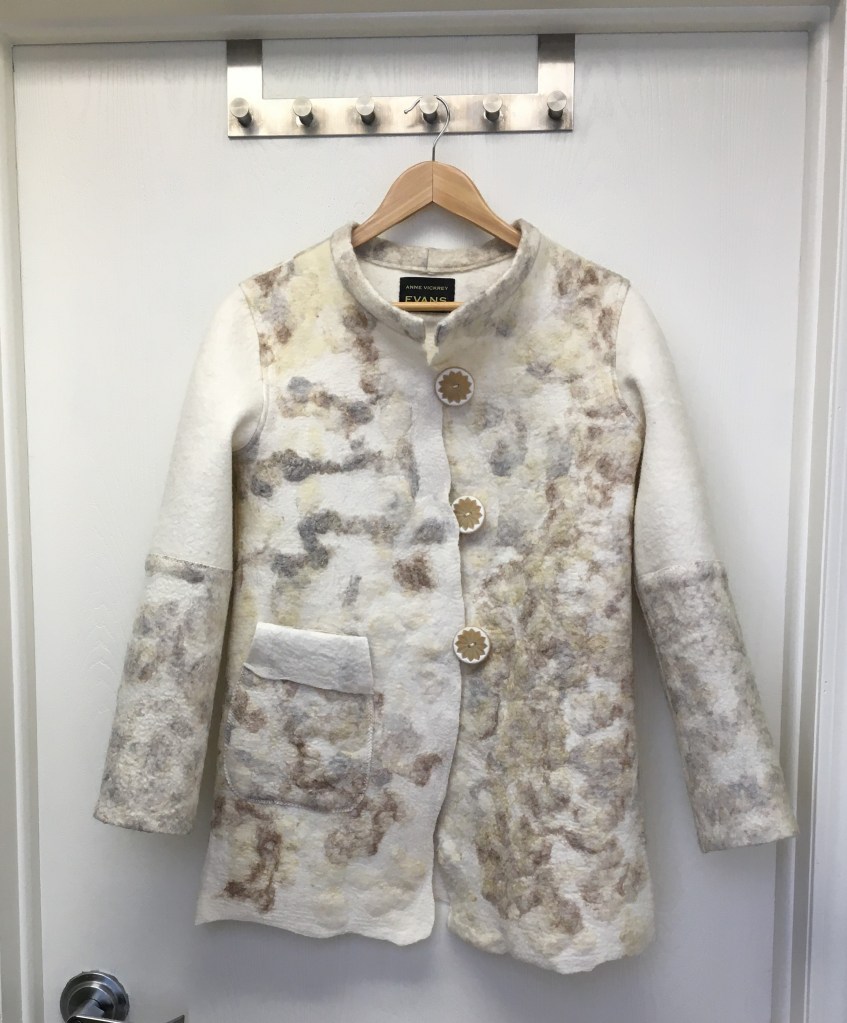
March 2021 – I recently finished a coat that I started on the needle felting machine and finished on the wet felting rolling machine.
I started with washed but uncarded “California Red” sheep fleece. I also had some natural white merino pre-felt that I laid the fleece on. I selected locks and gently pulled them apart a little and spread them individually over the pre-felt. I then passed the pre-felt through the needle felting machine to attach the fleece. The piece was needle felted several times so the locks adhered enough that the pre-felt could be rolled up to be wet felted later. I prefer to wet felt pieces that will be used for garments after needle felting. This way I know the fabric is strong and wearable.
Wet felting: I laid the needle felted fleece and pre-felt onto the smooth side of my solar pool cover rolling mat. To wet down the fiber I use tap water and a few drops of Dawn liquid detergent to break the surface tension. I don’t use so much water that the fiber is completely wet initially, there are some dry spots and I let the rolling machine disperse the water. After the first few minutes on the machine I unroll the mat and add water where there are dry areas. After rolling about 30 minutes I will switch to hot water and olive oil soap. I place a bar of olive oil soap in a bowl and pour very hot tap water over it. After a few minutes the soap starts to melt and I use this liquid for felting.
Finishing the piece: I roll up the piece and roll it back and forth for a few minutes by hand then place it in a clothes dryer in my workshop that I exclusively use for felting and let it turn in the dryer 3 minutes. After 3 minutes, I check it and let it go another 3 minutes continuing until it is felted to the strength I want. Between turns in the dryer, I stretch the fabric before placing it back in the dryer. I spin the piece in a centrifuge and rinse – spin – soak in vinegar water – rinse spin rinse and spin. After the last spin I iron the fabric and let it dry on a rack. During the ironing you can stretch to even out edges. Now it is ready to be made into a garment.
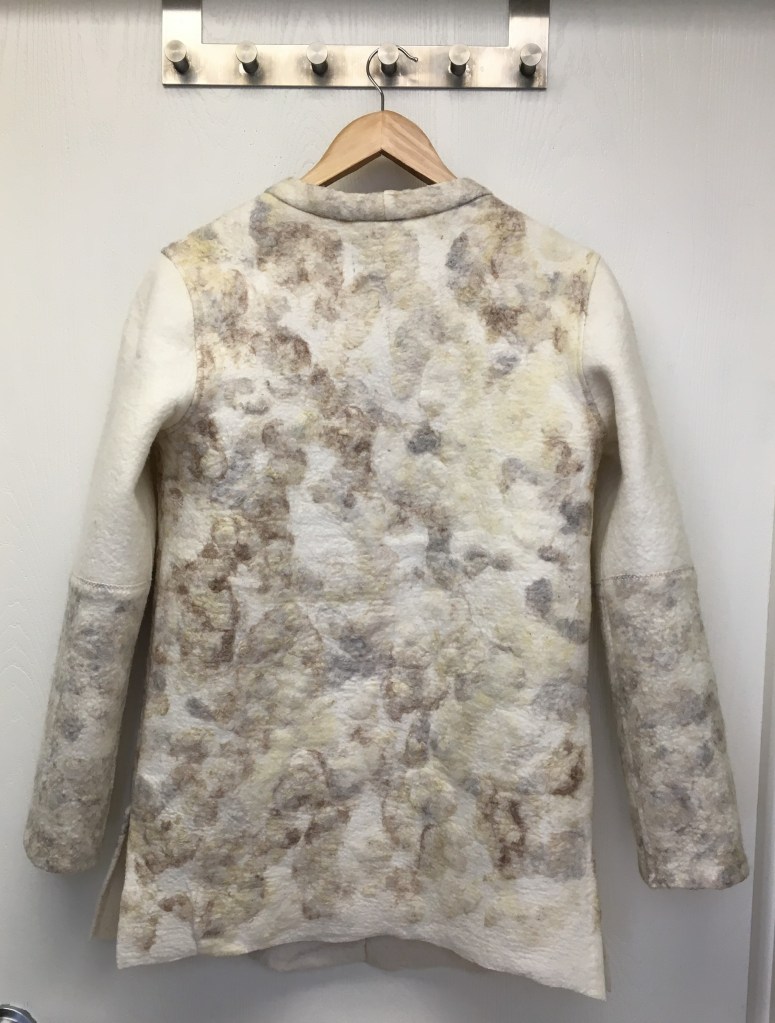
Making a garment: The piece was a large rectangle and one of the long edges was fairly even. I used this edge for the bottom of the garment. With the piece laid lengthwise, I placed the two front pattern pieces on the two outer edges, I placed the back pattern piece in the center. This took up most of the fabric except for a piece that I could use for a pocket. Because of this, I looked into my “stash” and found a piece that had greyish locks needle felted onto white pre-felt. I combined these pieces with some felted white merino to make the sleeves. I also used some of the greyish pieces for around the neck. The closure for the buttons is a loop of twisted Kreinik glitter ribbon, embroidery thread and silver thread.
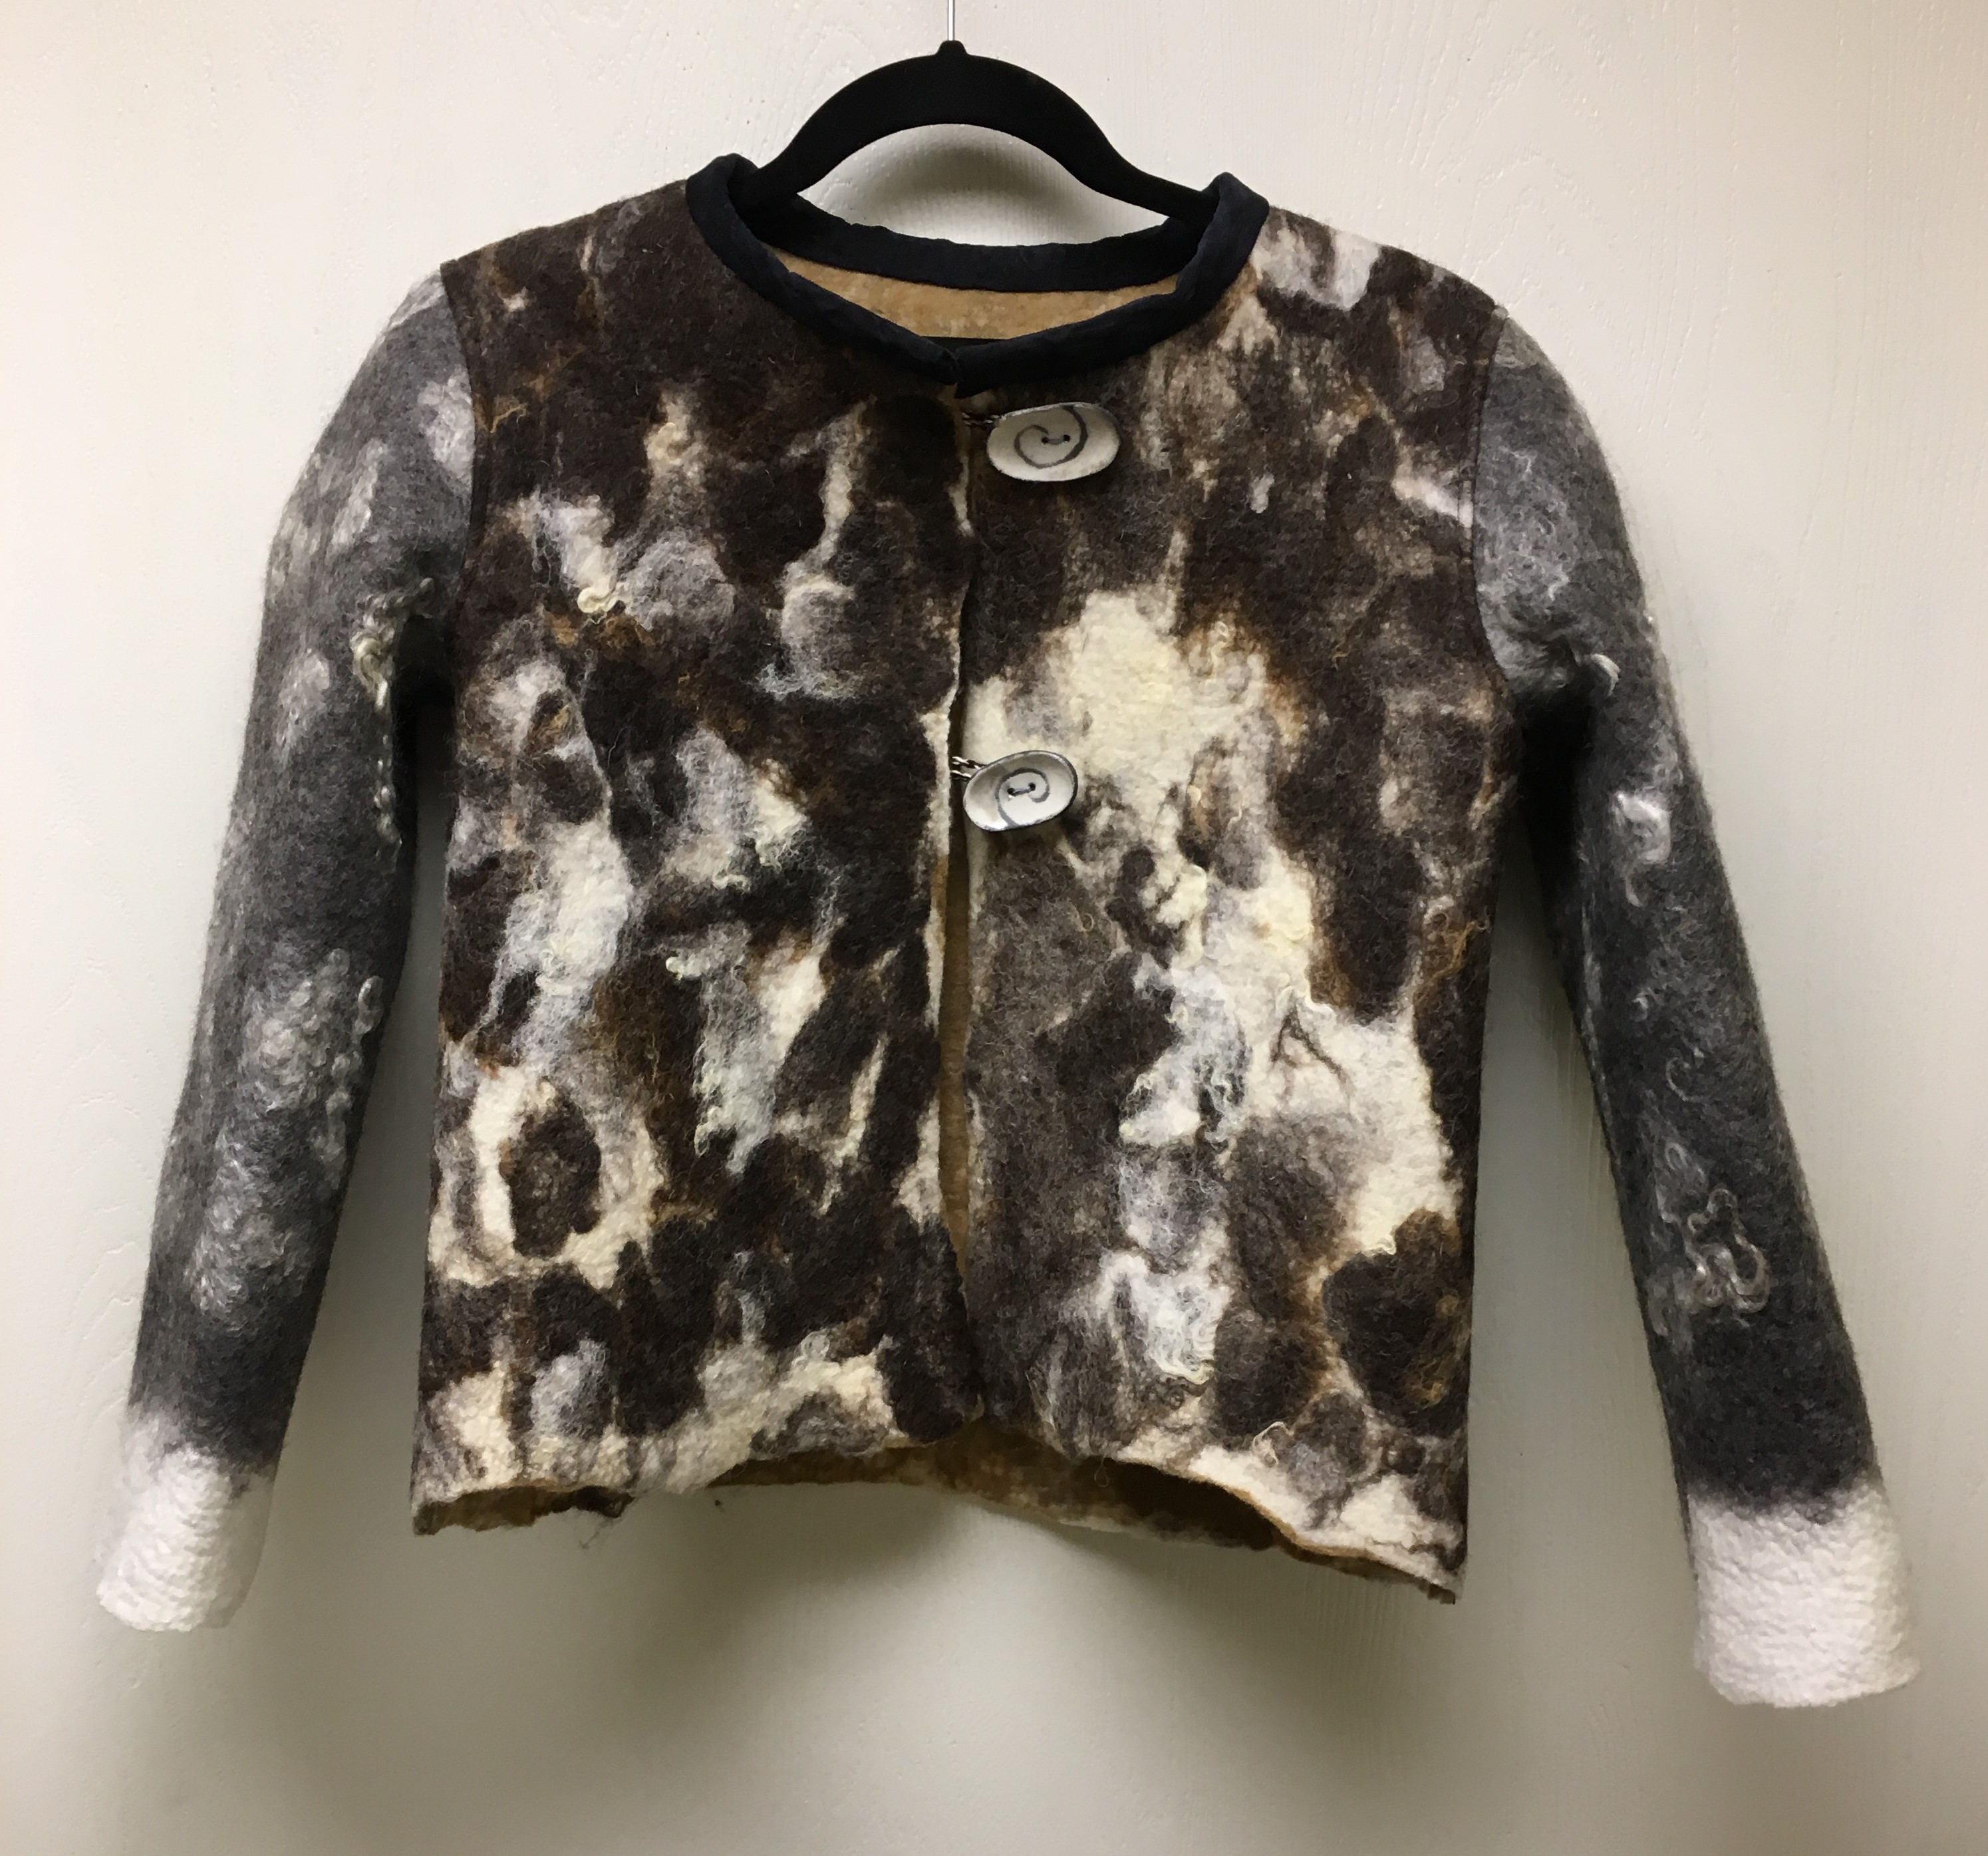
MORE GARMENTS MADE USING THE SAME TECHNIQUE AS ABOVE
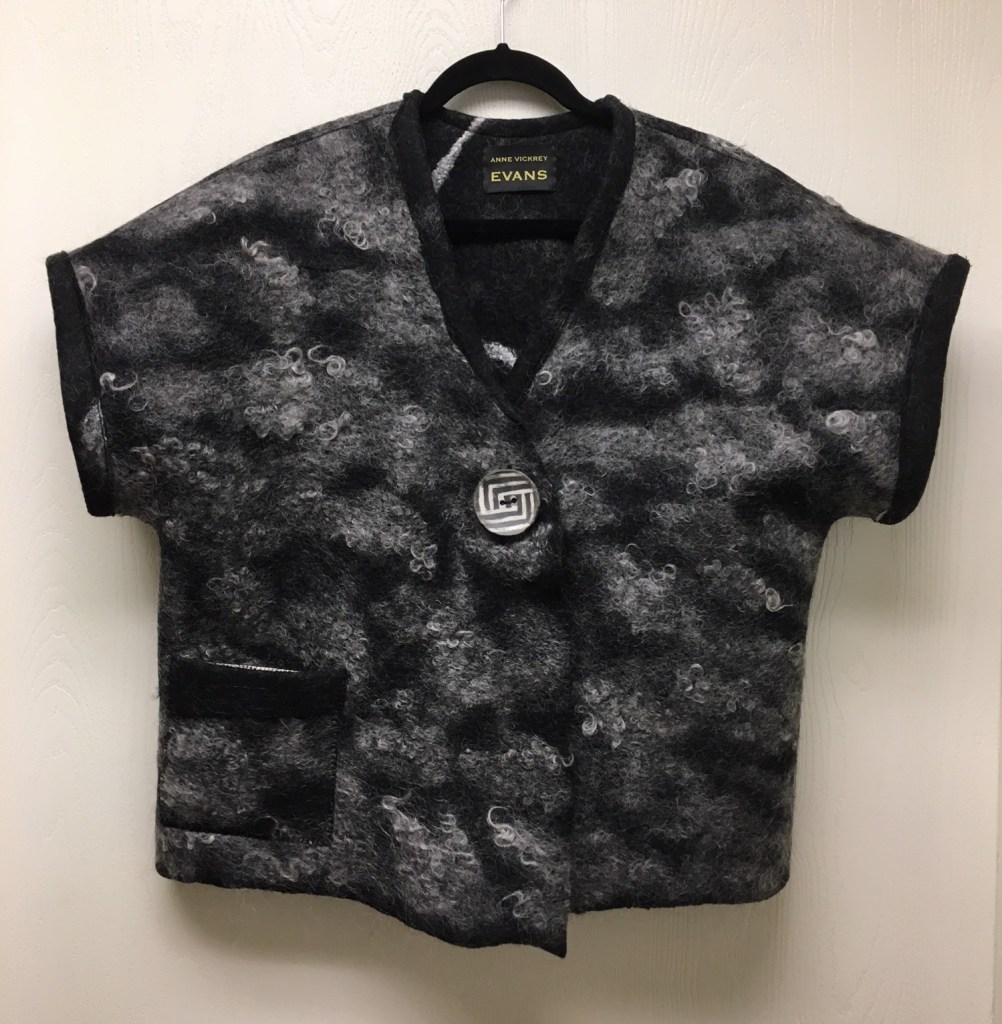
Jacob fleece on white pre-felt. Angora locks on Blue-faced Leicester batting.
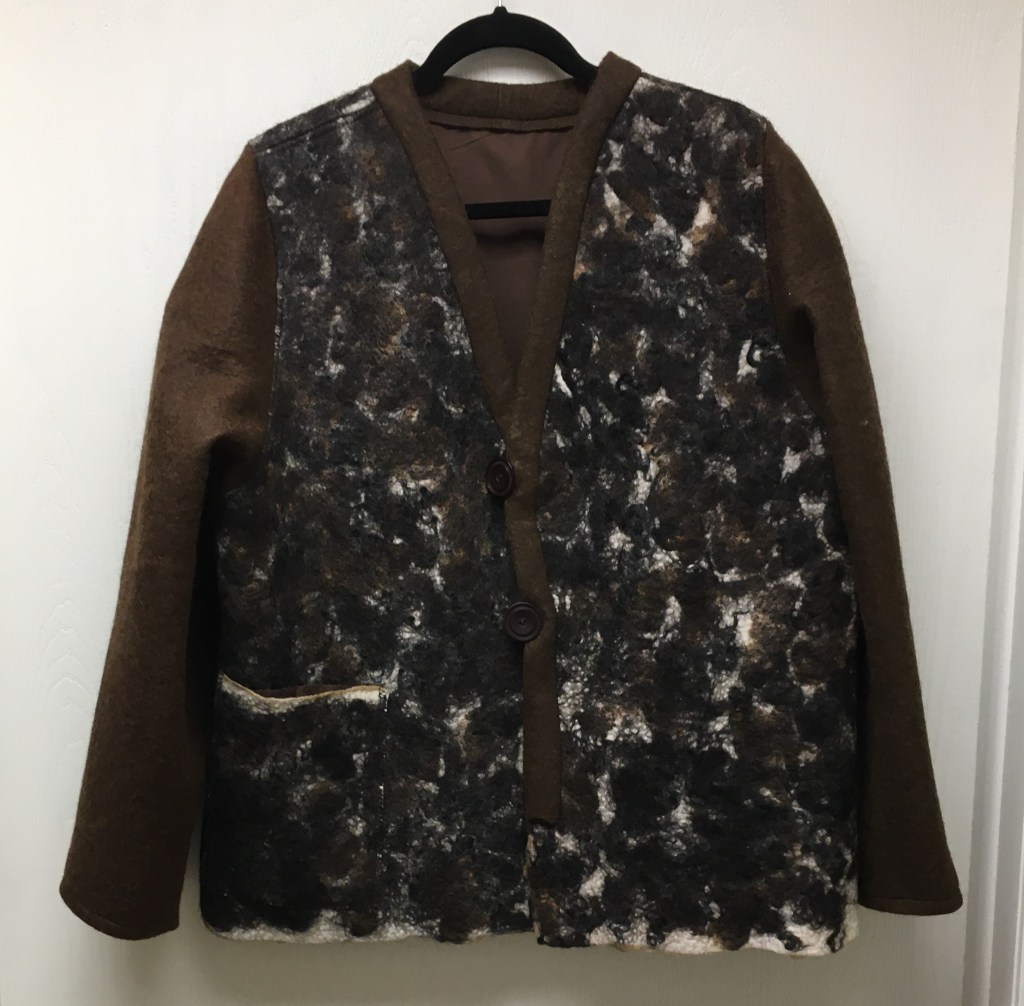
Black locks on white pre-felt. Alpaca and merino sleeves and around neck and front.
